
You finally sit down with your favorite polish, open the nail photo you saved, and suddenly the design looks much harder than you remembered. Have you ever loved a manicure but immediately thought your hands could never recreate it? These DIY Beginner’s Nail Designs prove that you can create something playful and polished without painting a tiny masterpiece.
The best beginner manicures use basic dots, lines, curves, hearts, and color blocks. You can copy the entire look, simplify the details, or decorate only one accent nail.
The goal is not to make every finger perfectly identical; it is to create a manicure that feels fun and completely yours.
Below are 29 approachable designs you can use as inspiration for your next at-home manicure. After exploring the ideas, you will find the supplies, preparation steps, techniques, and troubleshooting tips needed to start creating your own nail art.
If you enjoy soft, versatile bases, you may also want to save these nude nail designs for later.
Choosing Your First Nail-Polish Colors
Color selection becomes easier when you start with a simple formula.
- Combine a neutral base with one bright accent.
- Use two shades from the same color family for a softer result.
- Pair white or black details with brighter backgrounds.
- Limit your first manicure to two or three colors.
- Choose opaque polish for dots, lines, and small shapes.
- Repeat one color across several nails to connect a mismatched set.
If you cannot decide, choose a sheer pink base, one bright color, and white. That combination can produce flowers, dots, stripes, French tips, hearts, or abstract lines.
Metallic accents can also transform a simple palette, so explore these golden nail designs if you want something warmer and shinier.
29 DIY Beginner’s Nail Designs to Try at Home
1. Raspberry Daisy Dots
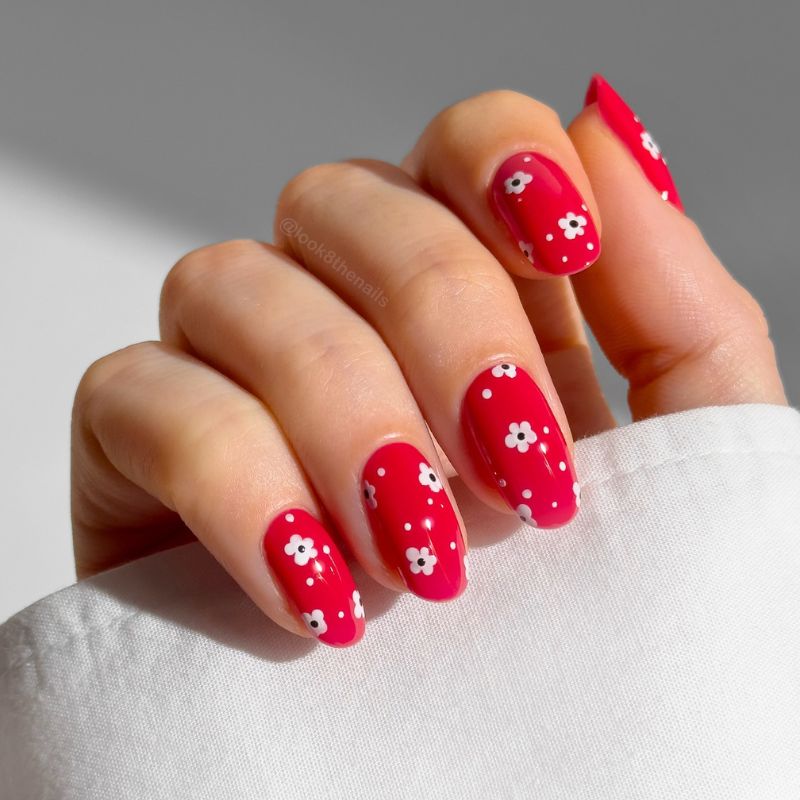
Paint a raspberry base, then use a dotting tool for scattered white flowers and tiny dots.
2. Playful Doodle Mix
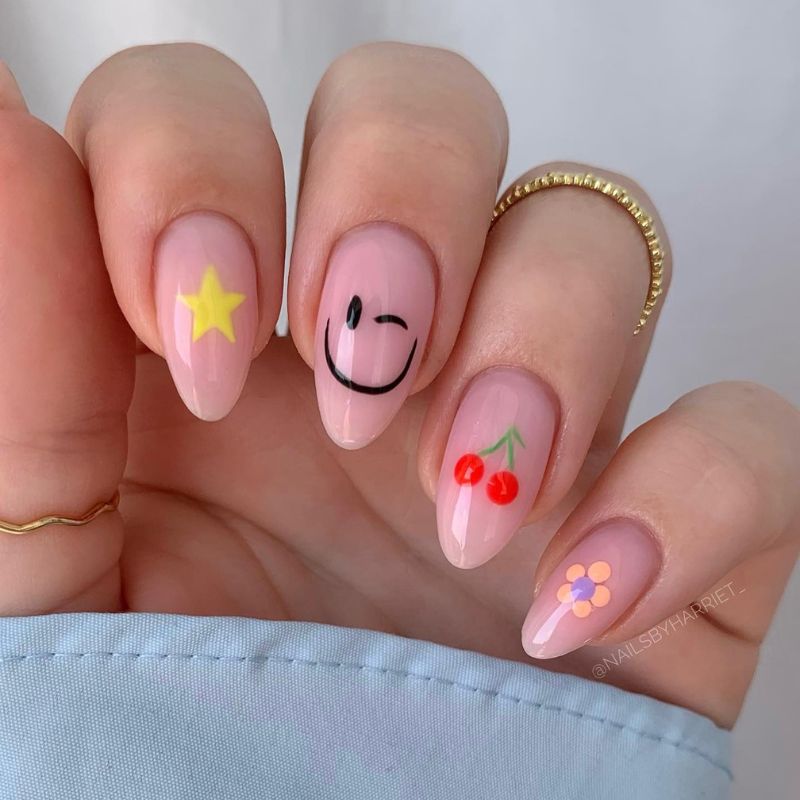
Start with sheer pink, then add one simple doodle to each nail: a star, smile, cherries, or flower.
3. Colorful Confetti Dots
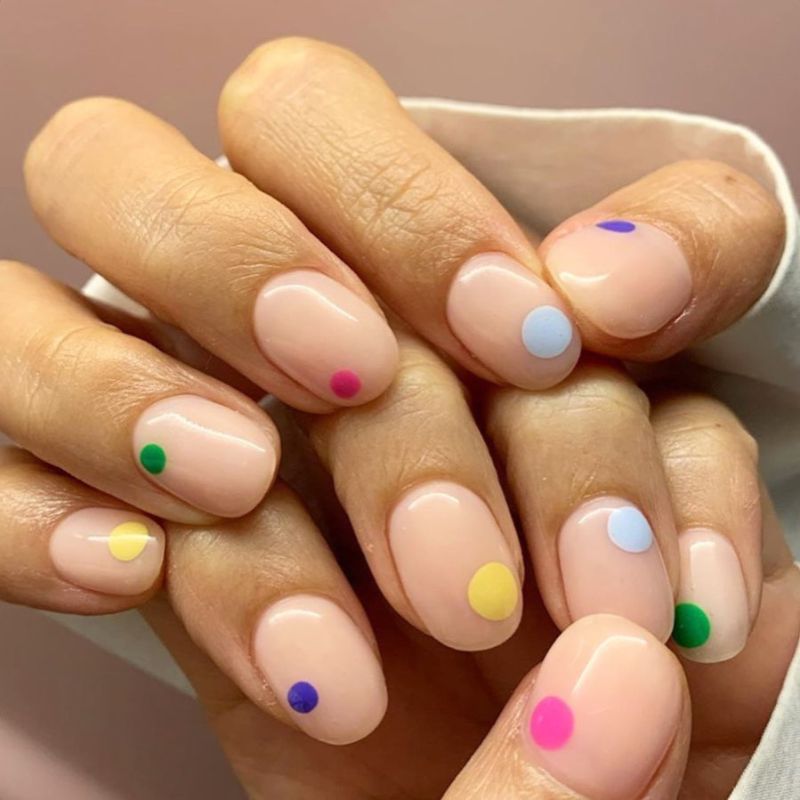
Cover nude nails with one bright dot each, varying the size and placement for an effortless mismatched set.
4. Two-Tone Blue Polka Dots
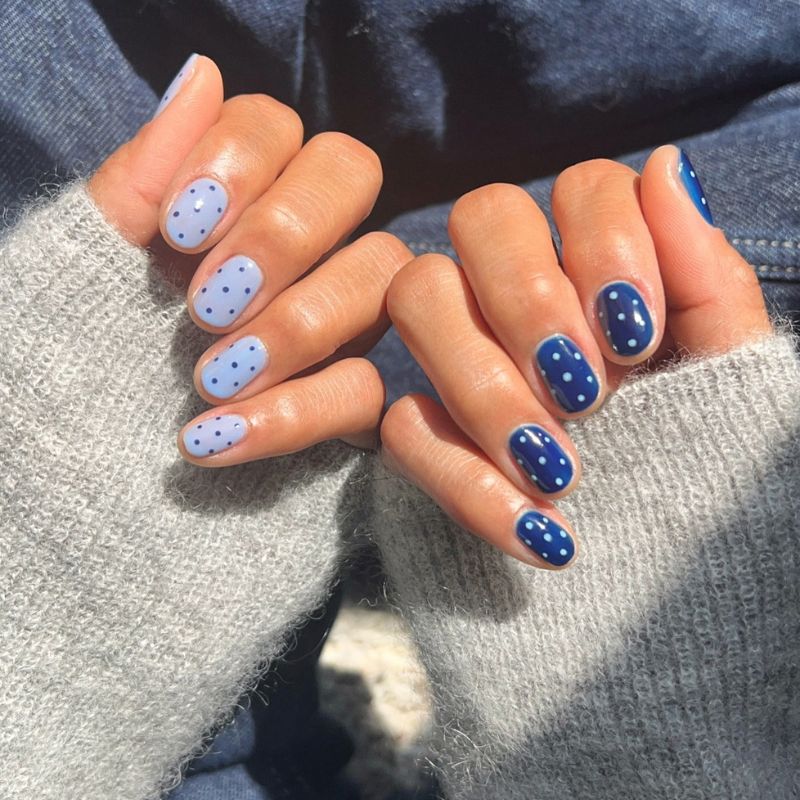
Choose light blue for one hand and navy for the other, then add evenly spaced contrasting dots.
For more Polka-dot designs, check out: 31 Stylish Polka Dot Nail Designs.
5. Matte Black Negative Space
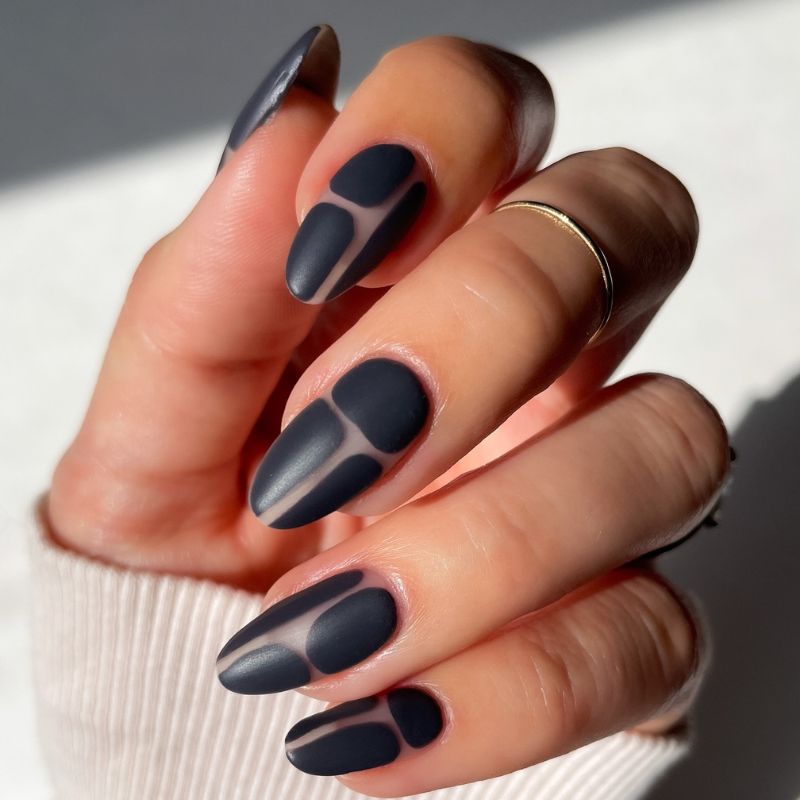
Apply black polish in separated blocks, leaving curved nude pathways visible before finishing with a matte top coat.
If you prefer high-shine finishes over matte polish, these glass nail ideas offer more glossy inspiration.
6. Chocolate Polka Dots
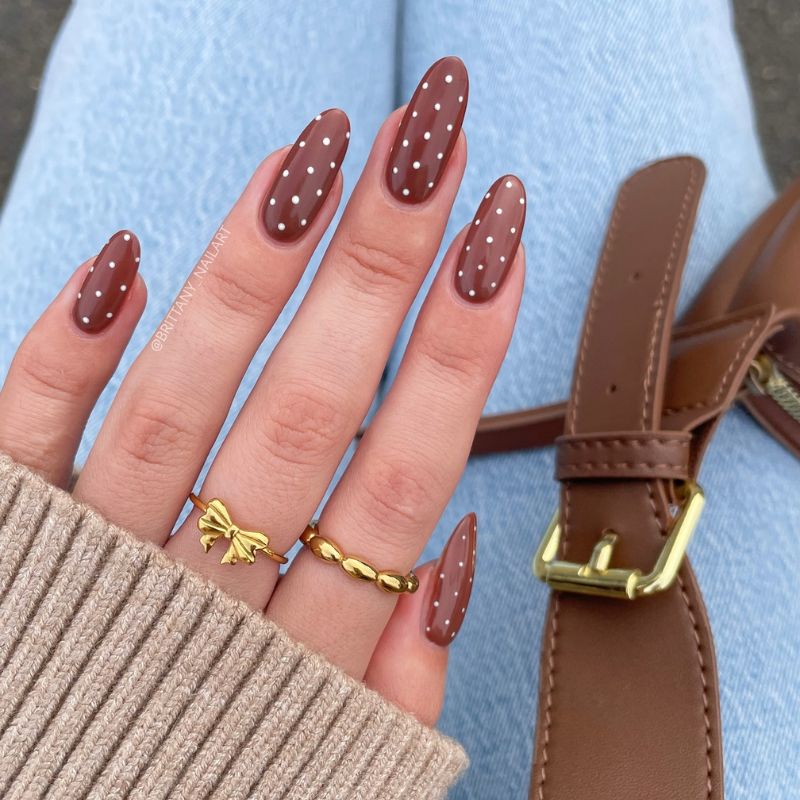
Paint glossy chocolate nails, then place tiny white dots in neat rows with a small dotting tool.
7. Peach Curves and Blue Dots
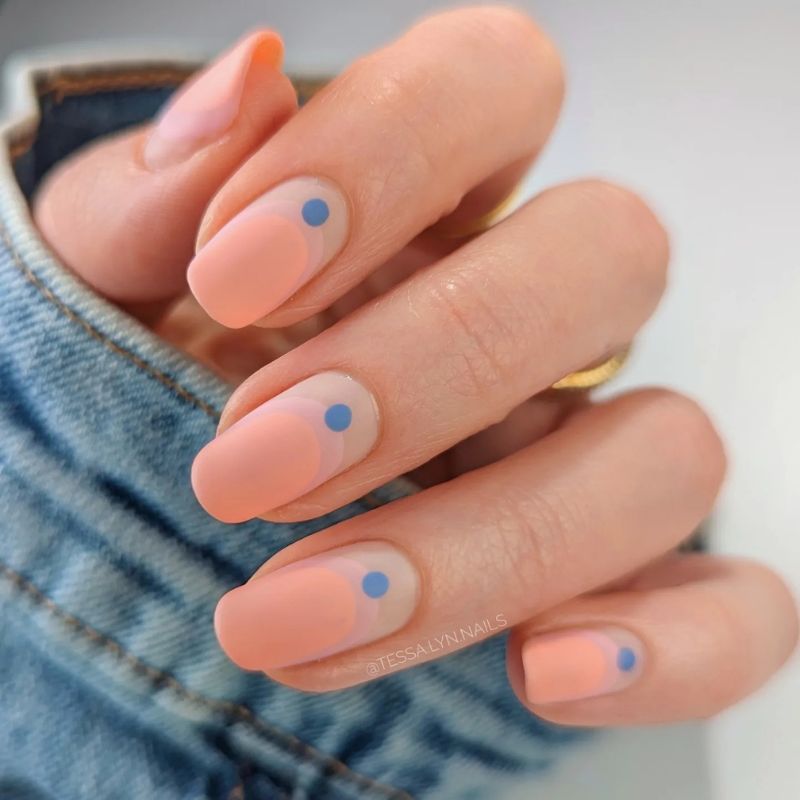
Layer rounded peach shapes over a sheer base, then place one blue dot near each cuticle.
8. Cobalt Floral Corners
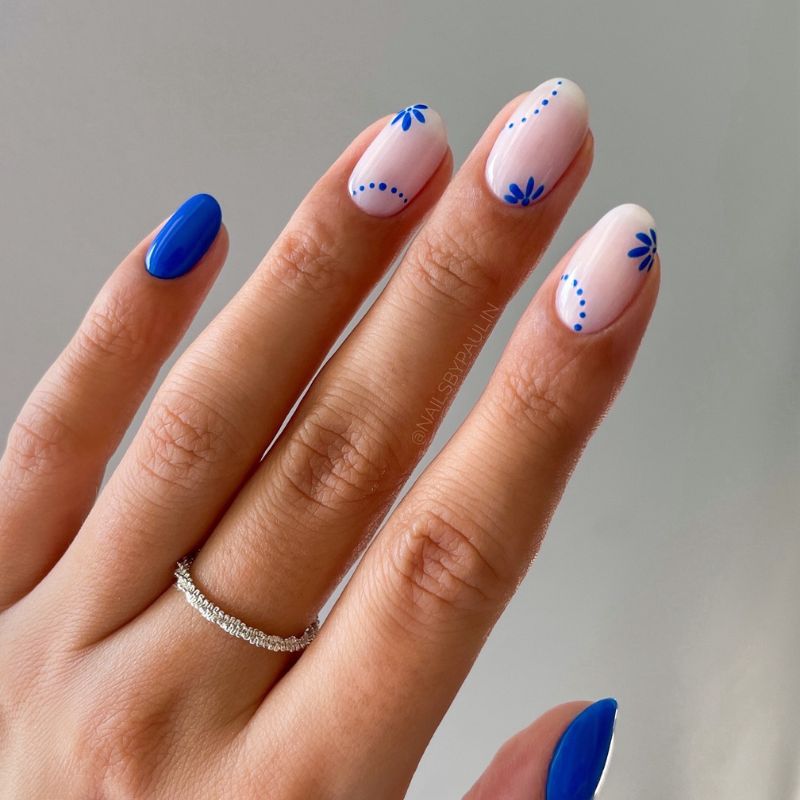
Paint selected nails cobalt, then decorate nude nails with blue dotted curves and three-petal corner accents.
9. Pastel Blue Side Stripes
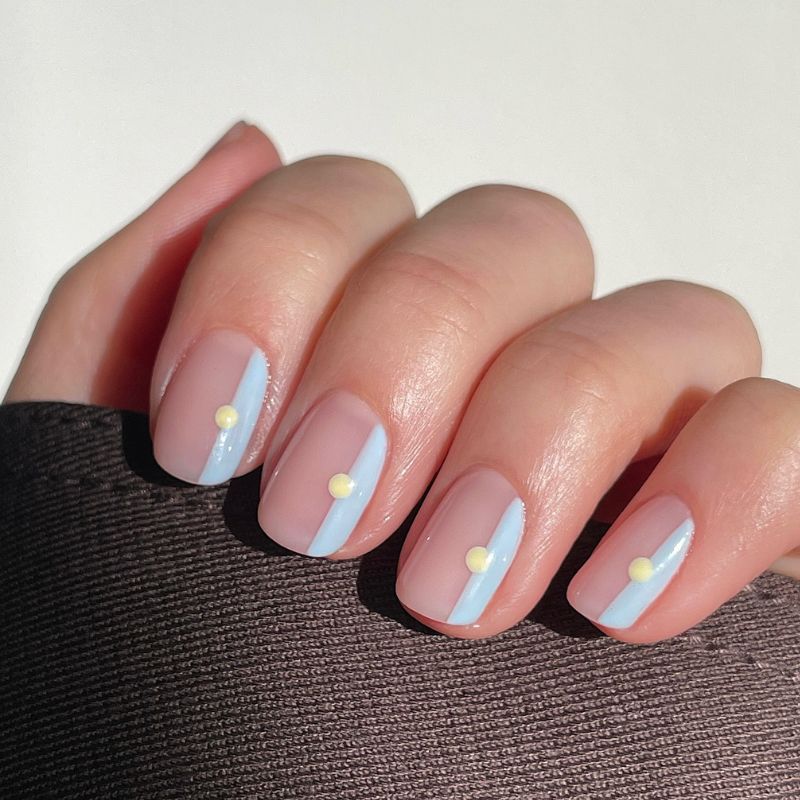
Paint one curved blue stripe along each side, then add a small yellow dot where the line begins.
If the yellow accent caught your eye, these playful butter nail designs offer more cheerful ways to wear the shade.
10. Reversed Pink Polka Dots
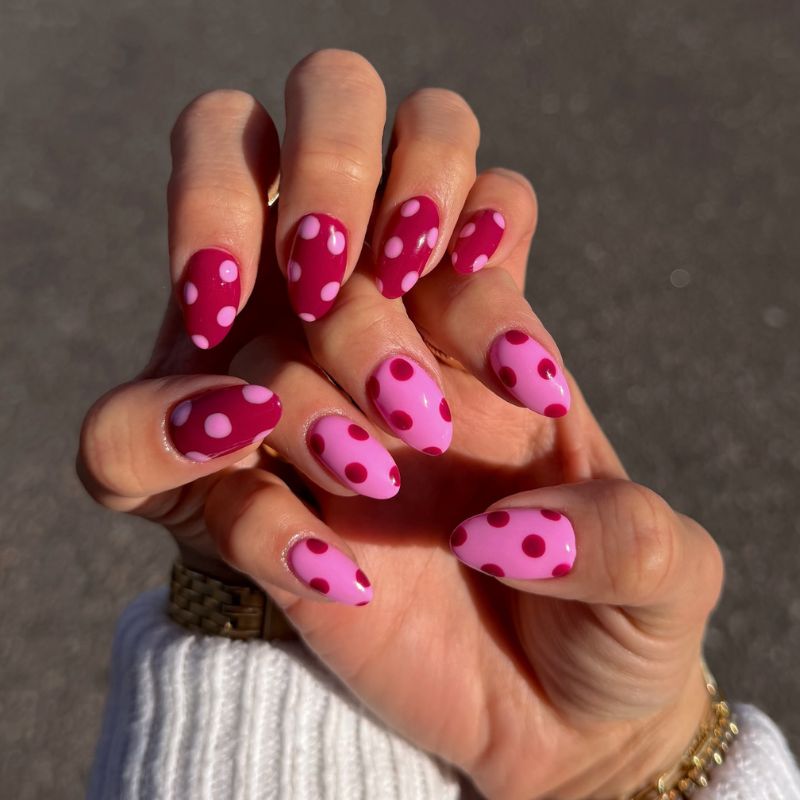
Alternate hot-pink and pale-pink bases, using the opposite shade for oversized playful dots.
11. Blue Doodle Nails
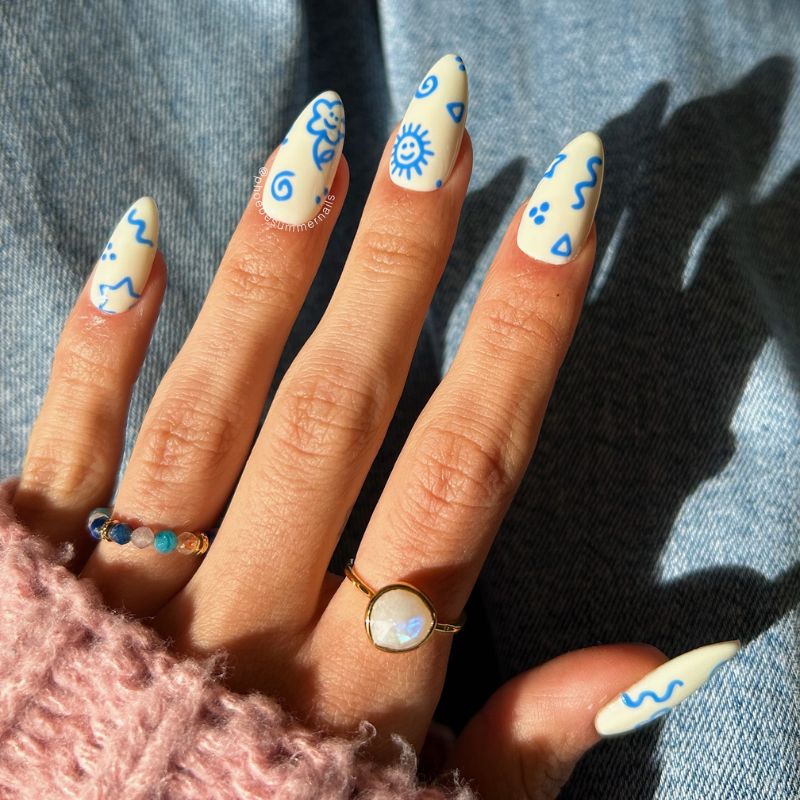
Begin with a creamy ivory base, then freehand simple blue suns, flowers, waves, spirals, and triangles across the set.
12. Tiny Blue Petals
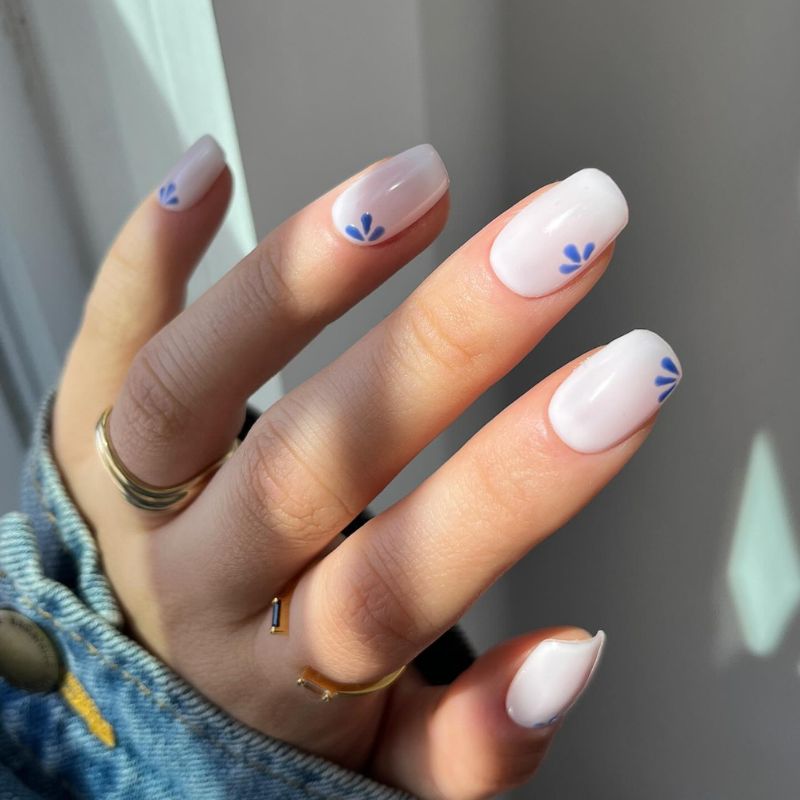
Keep the milky base simple, adding three tiny blue petals to one corner of every nail.
Other readers who enjoy soft, milky bases have also loved these elegant white nail designs.
13. Neon Yellow Micro-French Tips
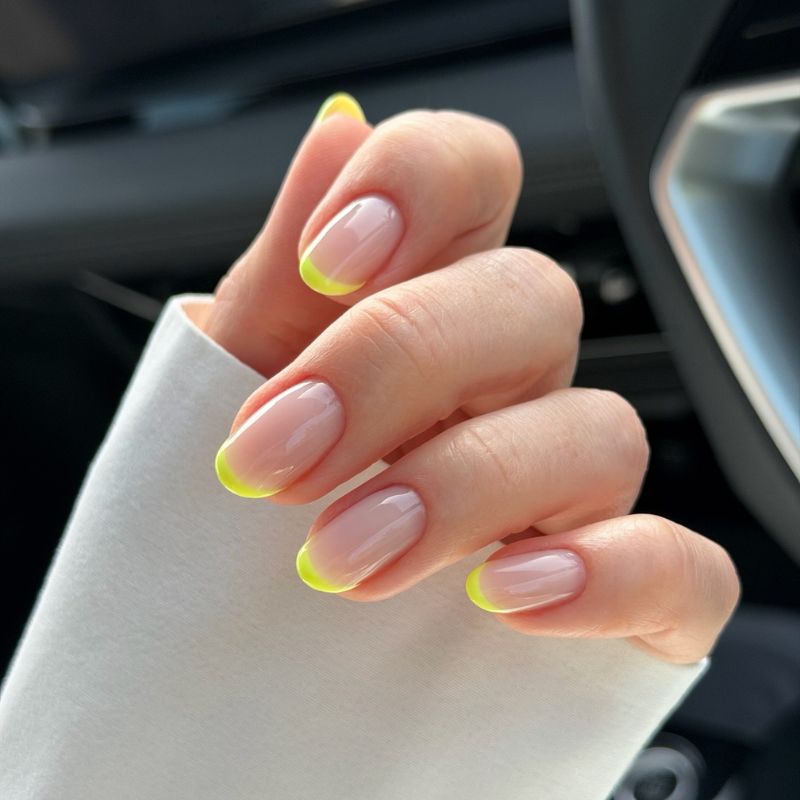
Follow each natural tip with a thin neon-yellow curve for a bright French manicure requiring minimal detail.
For more ways to update colorful tips, explore this collection of colorful French nails.
14. Blue Cuticle Dots
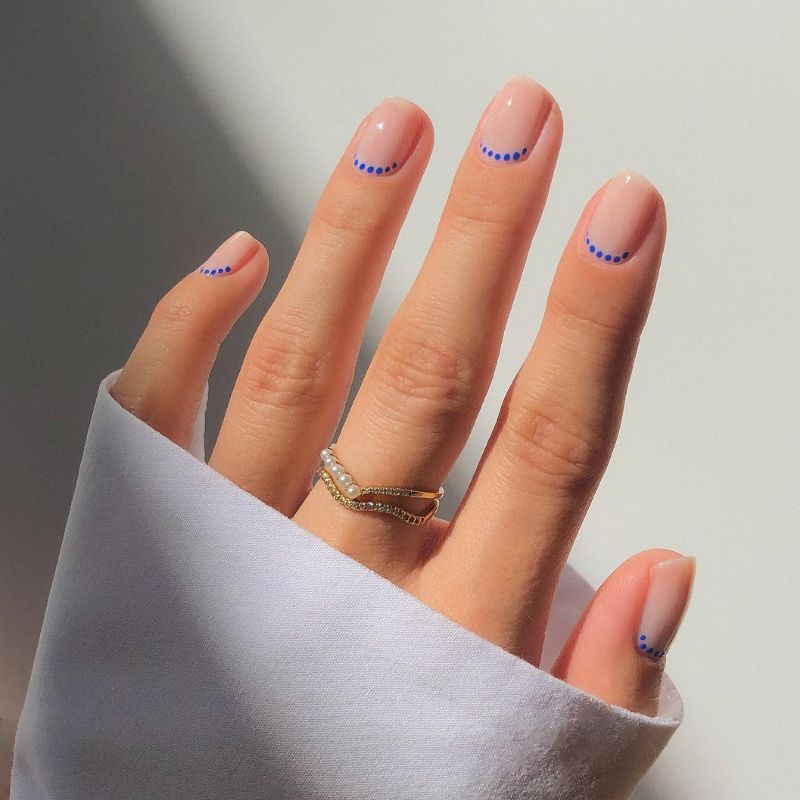
Trace the cuticle area with a curved row of tiny cobalt dots over a sheer pink base.
15. White Wavy Lines
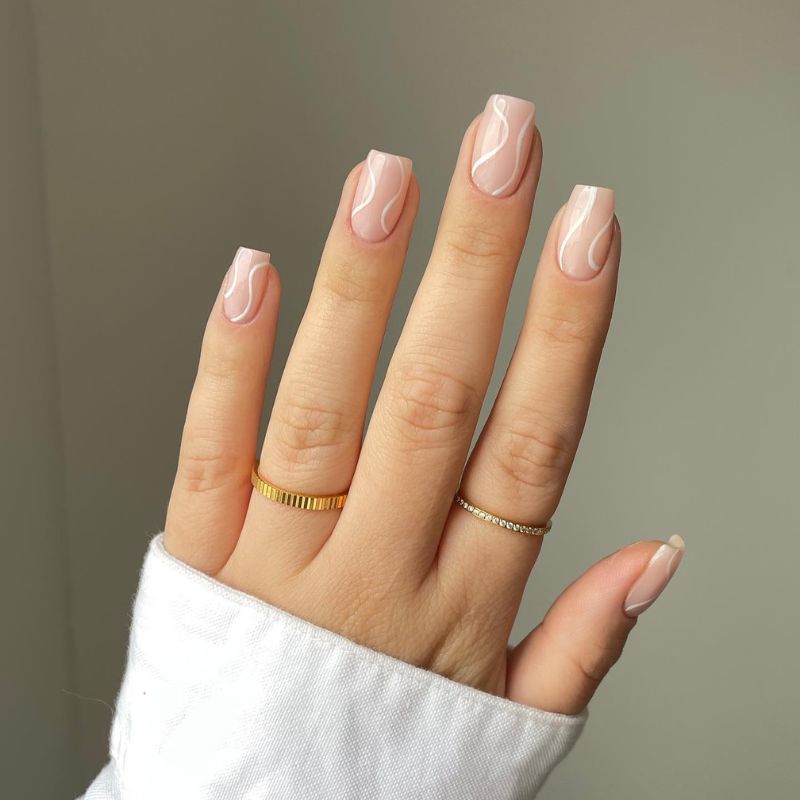
Paint a soft pink base, then draw one relaxed white wave from cuticle to tip on each nail.
16. Black Botanical Dots
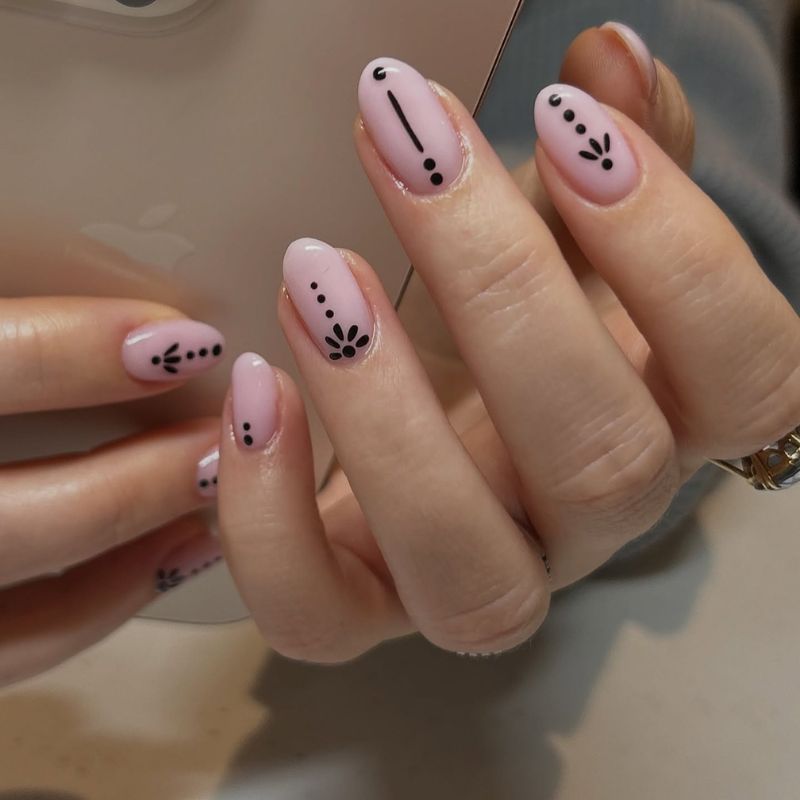
Build each motif from black dots, teardrop petals, and one straight line over a pale pink base.
17. Tiny Red Hearts Over Baby Blue
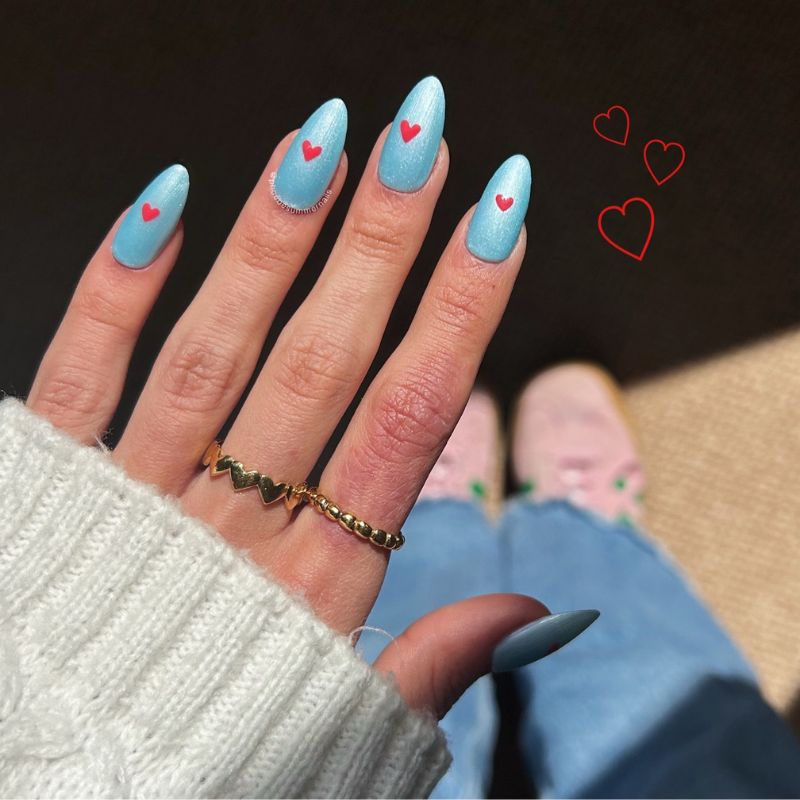
Paint a shimmering sky-blue base, then center one small red heart on every nail for cheerful contrast.
18. Green Pinstripes Over Lilac Base
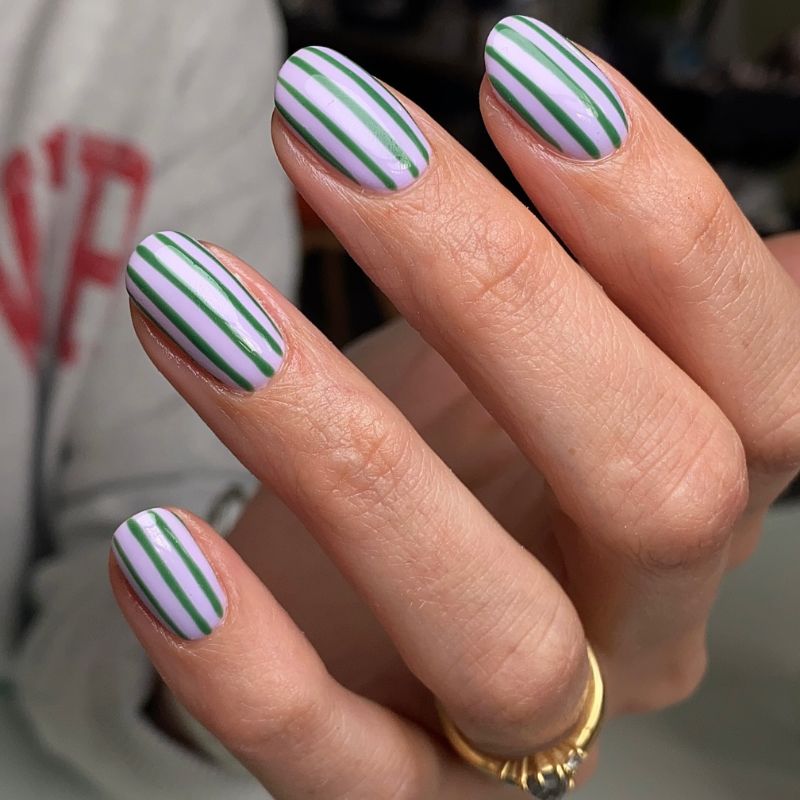
Use striping tape or a fine brush to paint evenly spaced green vertical lines over pale pink polish.
19. Green Cuticle Arches
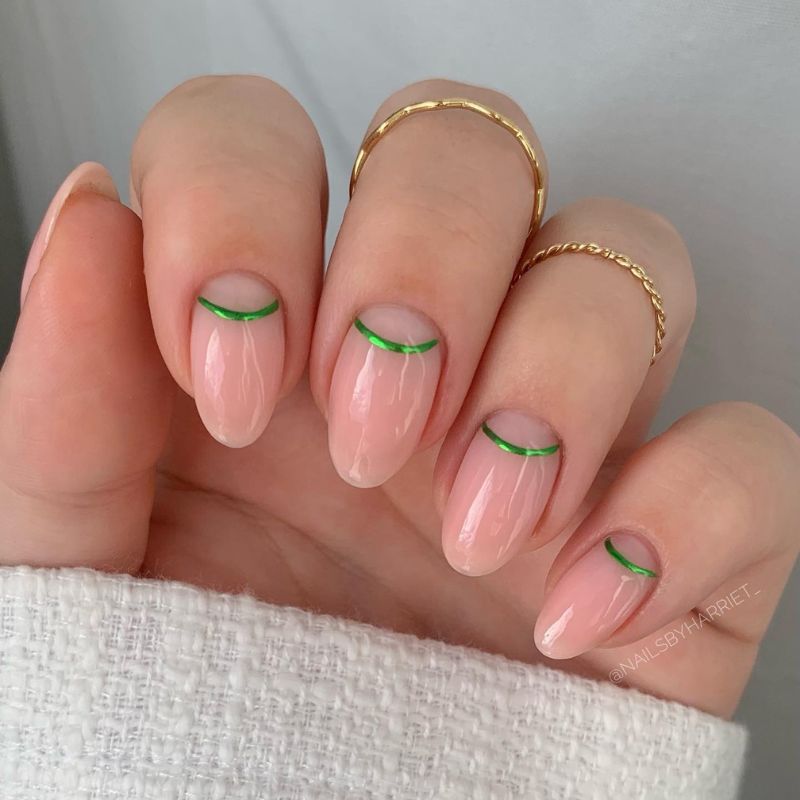
Follow each cuticle with one slim metallic-green curve, keeping the remaining glossy pink nail completely open.
20. Blue Side Outlines
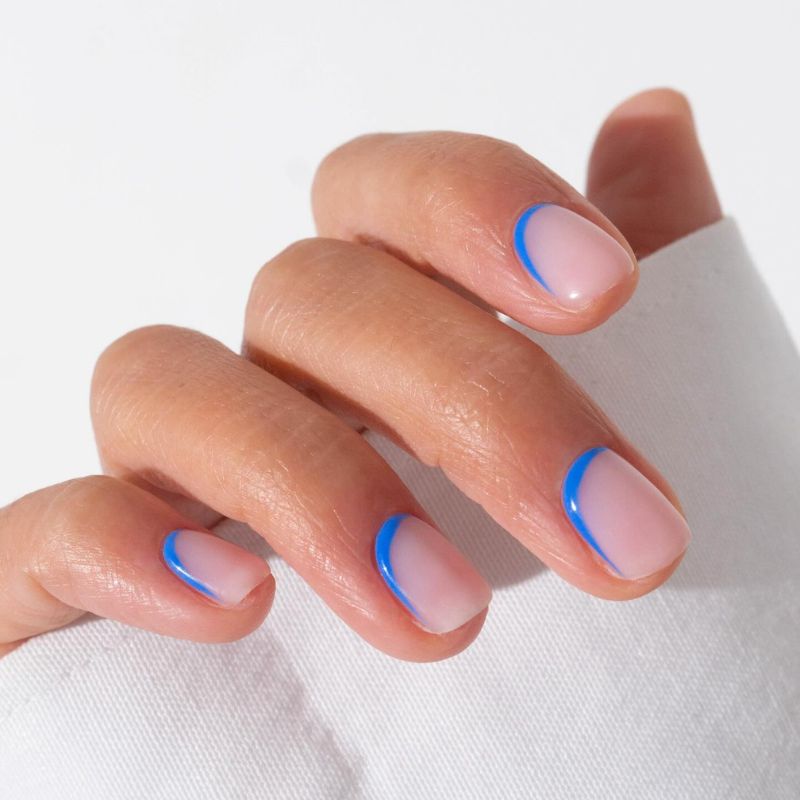
Outline one side and the tip in bright blue, leaving most of the softly matte pink base untouched.
21. Centered Black Lines Over Baby Blue Accents
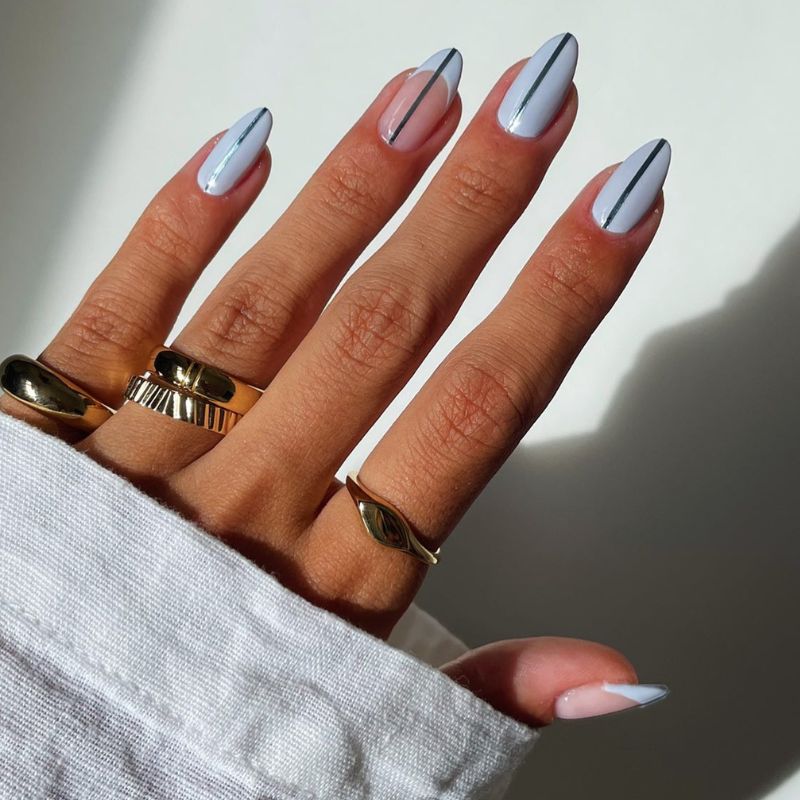
Apply a milky gradient base, then draw one thin black vertical line down the center of each nail.
22. Double-Dot Cuticles
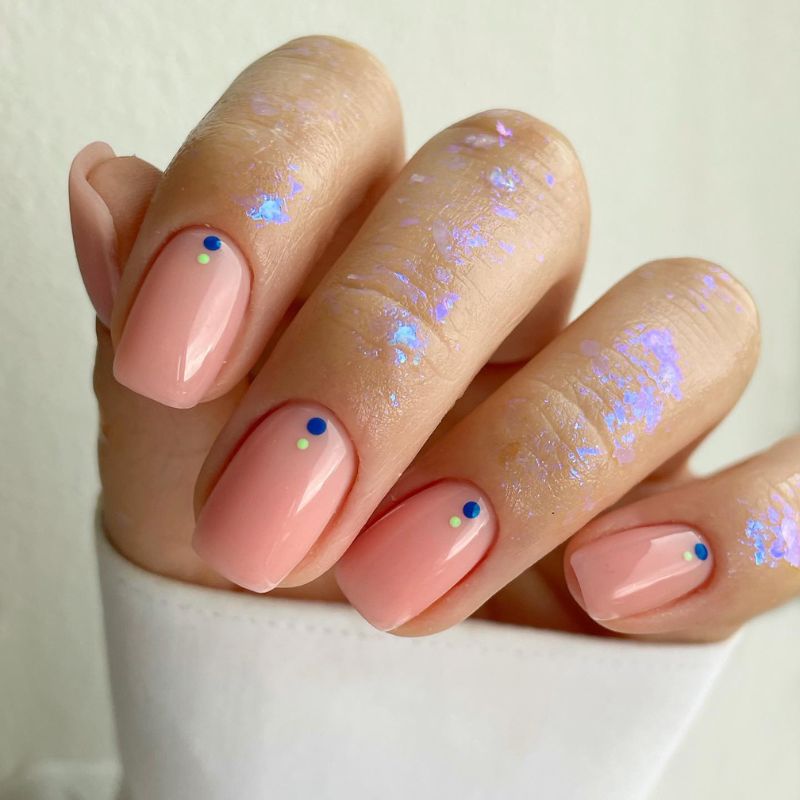
Place one cobalt dot and one smaller lime dot near each cuticle over glossy peach polish.
23. Hot-Pink Dot Trails
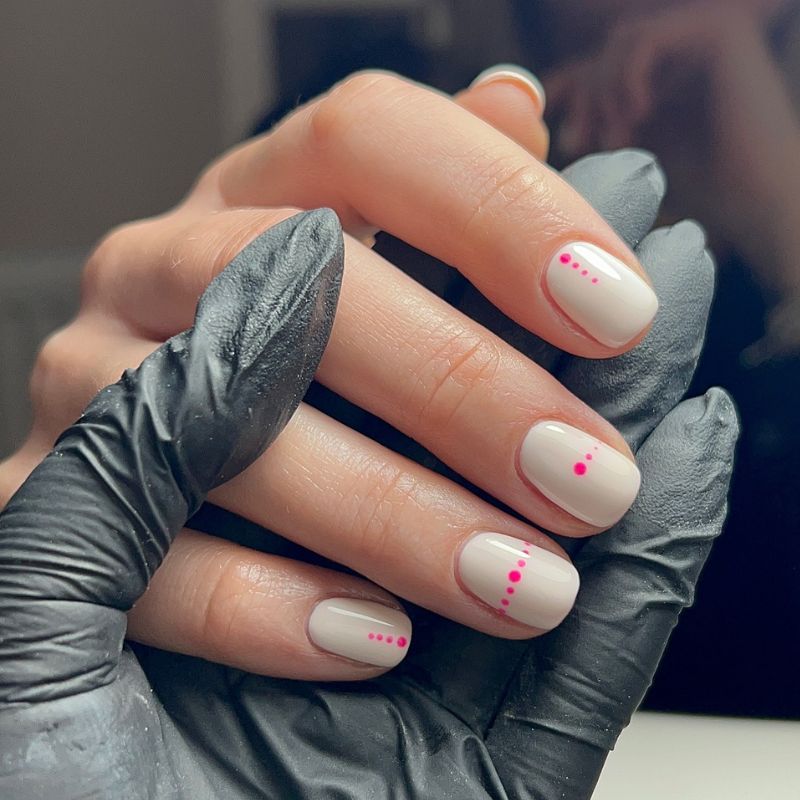
Create short trails of graduating hot-pink dots across creamy white nails, changing their direction on every finger.
24. Powder-Blue Pinstripes
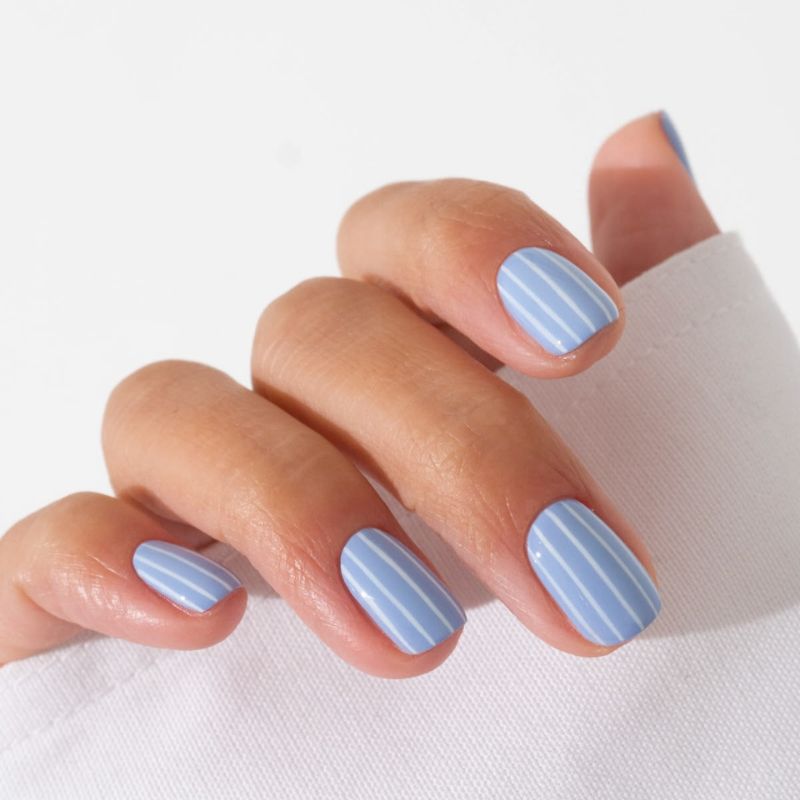
Paint a powder-blue base, then add thin white vertical stripes from cuticle to tip for a crisp finish.
25. Tiny Yellow Hearts Over Mauve Base
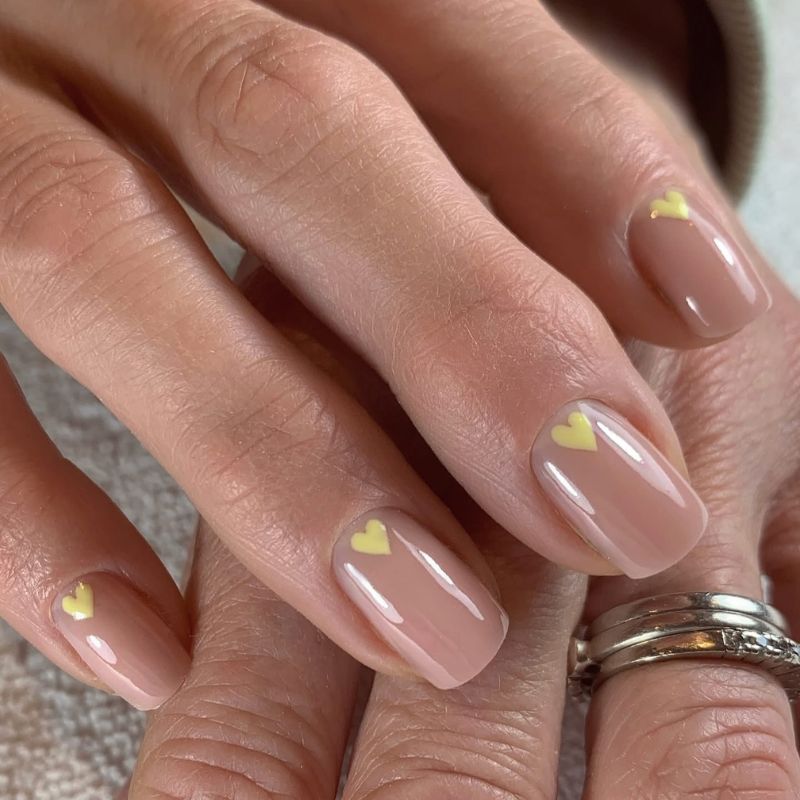
Add one small yellow heart near each cuticle over glossy nude polish for a sweet minimalist manicure.
26. Black Micro-French Tips
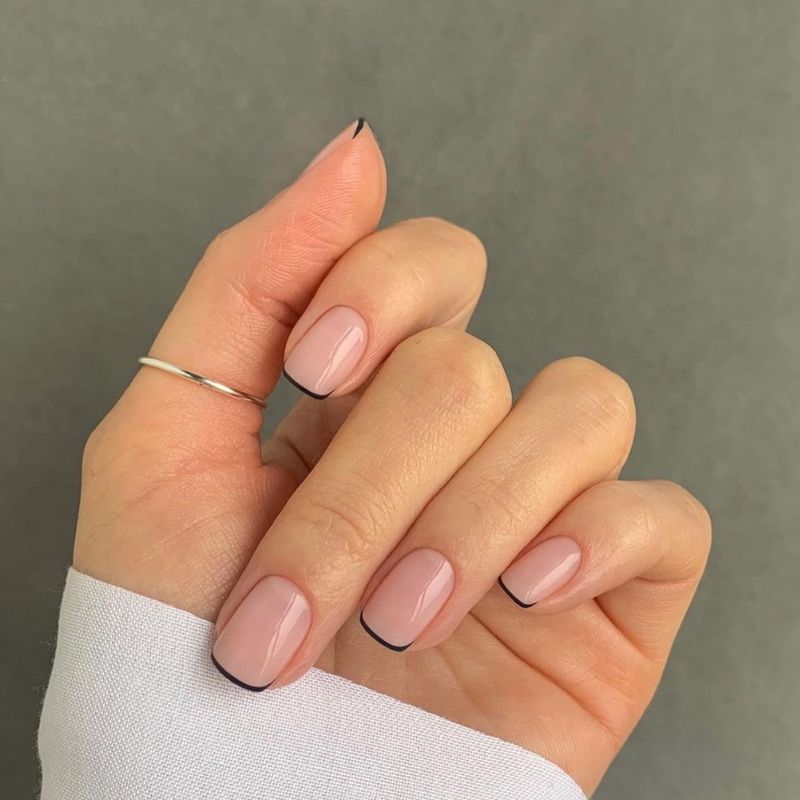
Trace the squared free edge with an ultrathin black line, keeping the glossy pink base clean and simple.
27. Pink and Blue Color Split
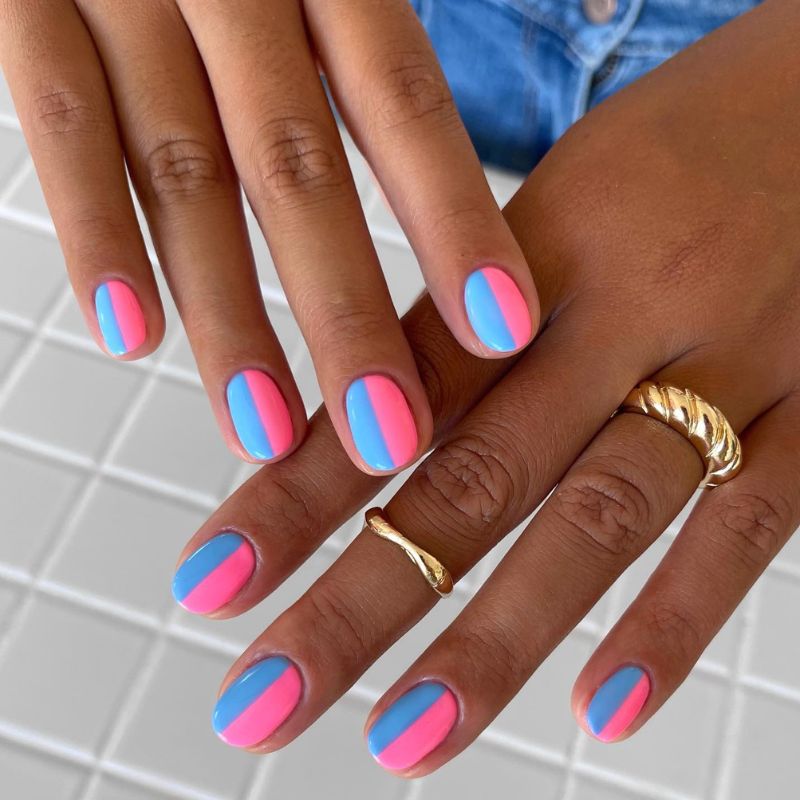
Divide each short nail vertically between bright pink and sky blue, alternating the color placement between hands.
28. Coral Accent French
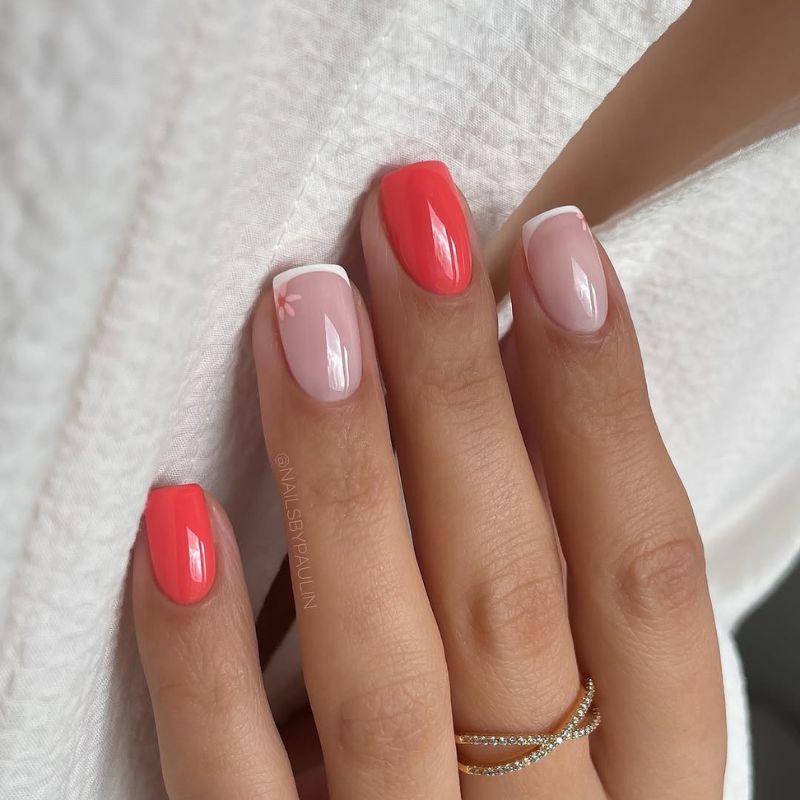
Mix glossy coral nails with white micro-French tips, adding one tiny coral flower for a coordinated accent.
29. Buttery Yellow Simplicity
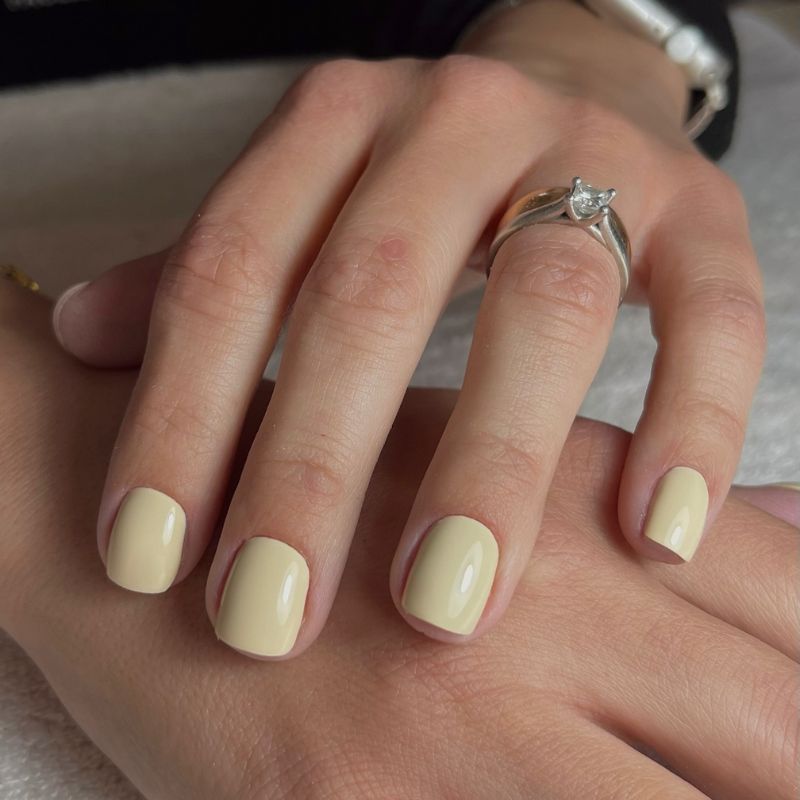
Paint short rounded nails buttery yellow, focusing on smooth coverage and a glossy finish instead of detailed artwork.
What You Need to Create DIY Beginner’s Nail Designs at Home
You do not need a professional collection overflowing with brushes, decorations, and dozens of colors. Begin with a small kit that can produce dots, stripes, hearts, flowers, French tips, and color-blocked designs.
Essential Beginner Nail Supplies
- Clear base coat
- Glossy top coat
- Two or three coordinating nail-polish colors
- Nude, pale pink, or sheer polish
- Small dotting tool
- Fine detail brush
- Small cleanup brush
- Nail-polish remover
- Cotton pads or lint-free wipes
- Nail file
- Cuticle oil or hand cream
- Small palette for holding drops of polish
A base coat gives you a smooth starting surface, while the top coat seals the finished artwork. A nude or sheer shade is especially useful because it appears throughout many of these designs and allows colorful details to stand out.
If you occasionally prefer skipping polish altogether, this guide explains how to achieve a natural nail shine.
Helpful but Optional Tools
- Striping tape
- French-tip guides
- Nail-art stickers
- Makeup sponge
- Different dotting-tool sizes
- Angled cleanup brush
- Tweezers
- Peel-off manicure barrier
- Matte top coat
Do not feel pressured to purchase everything immediately. A dotting tool and detail brush offer enough flexibility for most of the designs shown above.
Final Thoughts on DIY Beginner’s Nail Designs
Creating DIY beginner nail designs feels much easier when you begin with simple dots, lines, hearts, curves, and color combinations. You do not need to recreate every detail perfectly; the goal is to practice, have fun, and adapt each idea to your style.
Start with the technique that feels most manageable, then try adding more colors or details as your confidence grows.
Which of these 29 designs would you try first?

Hi I’m Ana. I’m all about trying to live the best life you can. This blog is all about working to become physically healthy, mentally healthy and financially free! There lots of DIY tips, personal finance tips and just general tips on how to live the best life.
Leave a Reply